WURLITZER STYLE 146 BAND ORGAN RESTORATION PROJECT (Part 11)
by Dr. Bill Black
The restoration project began in October of 2000. This series will mostly be a presentation of the photos that were taken during the restoration process. We wonąt go into great detail in descriptions since the basic restoration process is similar to that described in the 105 restoration series.
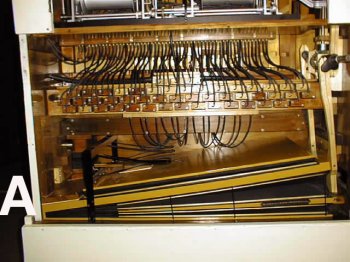
PHOTO A - A back view of the finished internal components in the lower
part of the case.
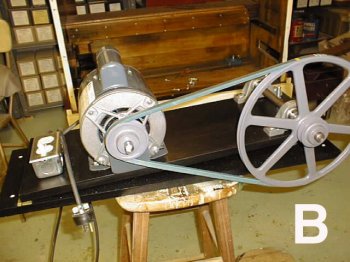
PHOTO B - This picture was taken earlier in the restoration process.
New motor, pulleys, pillow blocks, counter shaft and off - on switch with
electrical outlets for trouble light and tuner. These components are
mounted on a base and hinged board that can be adjusted up and down to
set the tension on the drive belt to the pulley on the crankshaft. The
pulley size arrangement give us about 80 rpm on the organ crankshaft.
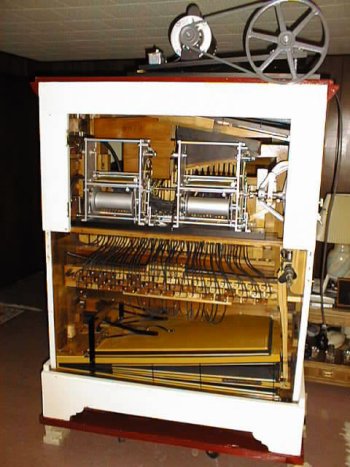
PHOTO C - back view of the organ showing the finished internal
components.
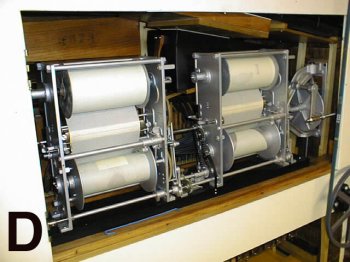
PHOTO D - music rolls mounted on the roll frames. Its ready to play.
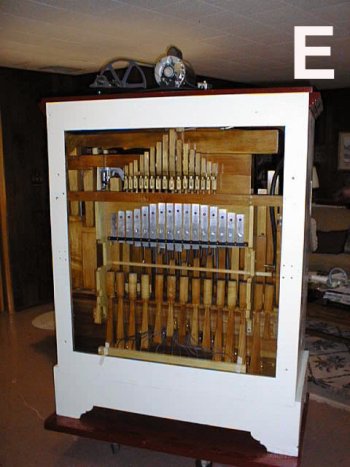
PHOTO E - Front view of the finished internal components.
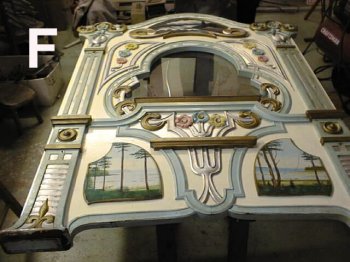
PHOTO F - The case was painted pink at the beginning of the
restoration. The new case color is white. The front is shown on saw
horses. The paint on the raised portions of the front was in good shape
and these were not repainted. The base portion of the front was masked
off and white paint applied to freshen up the front.

PHOTO G - The finished organ is back home again on the carousel.
For more information on the Dr. Floyd L. Moreland Carousel at Casino Pier, visit:
www.casinopiernj.com/index.html
 Dr. Bill Black is one of the nation's most knowledgeble Wurlitzer band organ experts. He has made recordings of many band organs and other mechanical music machines which are available for purchase in our Gift Shop . Dr. Bill Black is one of the nation's most knowledgeble Wurlitzer band organ experts. He has made recordings of many band organs and other mechanical music machines which are available for purchase in our Gift Shop .
|